Good morning all and welcome to my new be's
Well its Thursday morning and its really
Dark and wet here I hope today is better than yesterday
As it was never day light and it was wet and foggy.
But today I'm having a lazy day as
I got washing ironing and all upstairs
Done so I'm having a crafty day today.
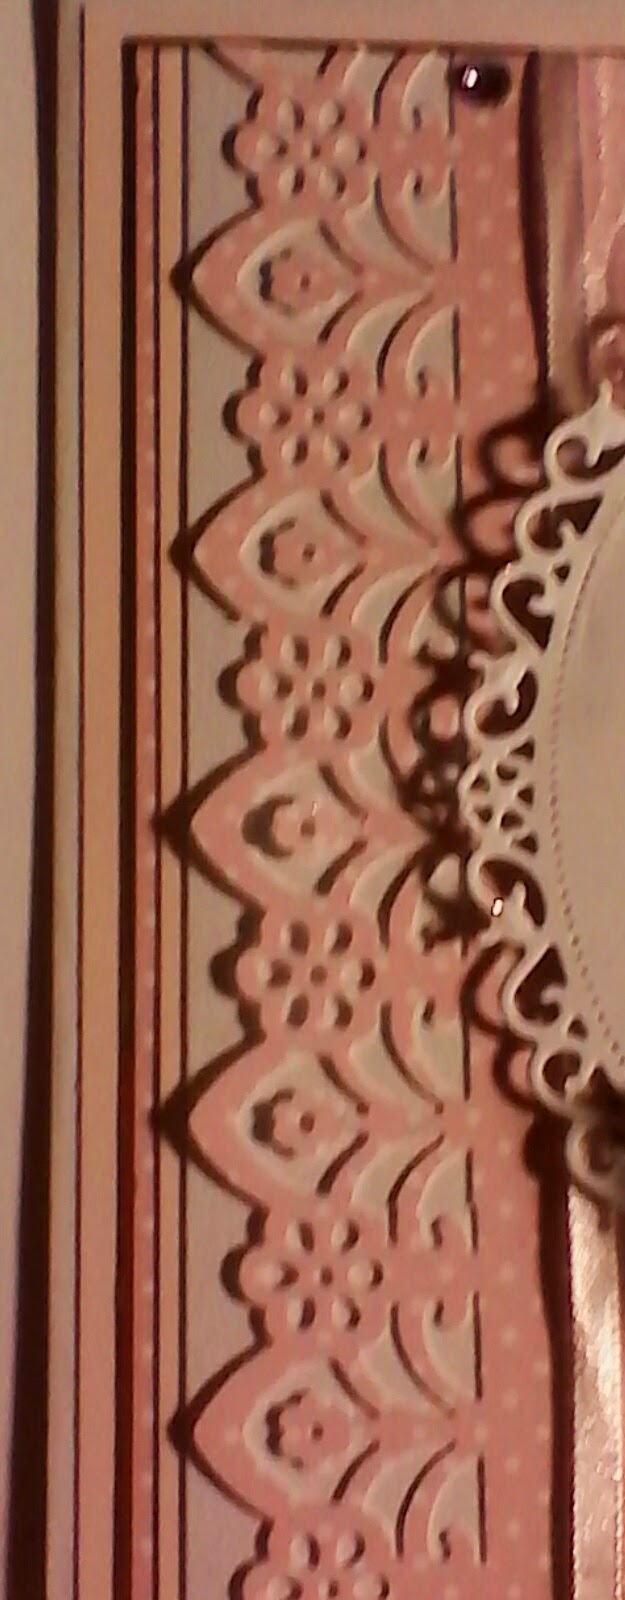
Today's card is made by using a
Hunkydory kit.
I started with a 8"-8" white card and I
Covered it with s backing card from the kit.
Next with a piece of decorative card
I cut out a frame for my topper to sit on.
The topper I used was a round one but
I used a oval die to cut it to fit in my frame.
Even by cutting it down I've not lost any
Of the image.
Using double sided foam tape I added my
Frame to the centre of my card.
Then I added my topper on go the fame.
I the cut out four pieces of a flower to make
It look like a snowflake. Which I added
The top corner.
To finish with I added a sentiment.
With this card I didn't think it needed
Anything else but s little glitter on the snow.
Thank you for taking time out of your bissy
Life's to visit my blog I thank you so much.
It would be lovely if you could leave me
You thoughts on this card.
Take care and many thanks.
Debs xxxx