Tuesday, 25 November 2014

A poinsettia angel


Good morning friends followers
I would just like to welcome to 
Judy Corner for being a new be to my blog.

I hope you all have a great day in what ever you are up to.
I'm so happy today had to go and order my new car yesterday as I got a brand new car in may and its been in garage 15 times since the 25 the July.
So last week I told them I want a new car because
It was not reliable and then they did agree after a while.

So back to today's card it is inspired by the wonderfully
Talented Sue Wilson.

I started with a 8"-8" white square card i the cut three mats out of white card.
With the top one I cut
Christmas Angle from the festive collection
But with this card I used the waste but I did save the angle
For another project.

Then with some red card I cut several filigree poinsettia's
I added these to the centre  of my card do that when I added my top mat the poinsettia' s show in the angle.

Next I added some paper flowers to the top corner of my card.
And to finish with I tied a large boe out of
Red satin ribbon which I added to
The bottom corner. And I added a rose onto 
The knot of my bow.

The dies can be got from

Thank you for stopping by and I would
Be really pleased if you would
Leave me your thoughts on
This card.

Many Thanks

Debs xxx

Monday, 24 November 2014

whoopsidaisy challenge anything goes poinsettia box


Good morning all today's card is my
Challenge card for whoopsidaisy s
Anything goes.

I started with making a box
I die cut my poinsettia' s with are
From Tonic.

I added them to my box.
Then I printed of my image from
Celebrate with ruby red
You can get this from 

I cut it out with a oval die and to
Fix it to my box I added a strip
Of card to make like a stick on it
I then glued it to the inside of the box.

To finish with I die cut my sentiment
Which I added to the front of the box.
And I added a gem into the centre of
Every poinsettia.
Why not go along to

Thanks you for stopping by it would be lovely to see you
Over at cutedaisymays challenge.

I would be so pleased if you could leave
Me your thoughts on this project.

Many thanks

Debs xx

Sunday, 23 November 2014

Thinking of you mum


Good morning fellow bloggers and passes bye.
Hope you are all well on this miserable Sunday.

Todays card I made in memory of my mum to take to the crematorium with some flowers later today.

It was a quick card I mattered and layered yellow green and white card.
I the printed off my image from a whoopsidaisy CD.

I then cut out my topper with one of spellbinders new dies
Out of yellow card.
I then added my topper to the centre of my card.
I added a little glitter onto the topper.

I tied a messy bow out of yellow and a green ribbon
I the glued it to just below my topper.

To finish with I printed a sentiment out from the computer
And I the cut it out with the same die set as my topper.
I added this to the top corner of my card.

I them added some ribbon to the top corner so
I can tie it to my flowers.

This is just for you mum I know you are still with me.
Missing you.

Many thanks 
Debs xxx

Saturday, 22 November 2014

A Silver Christmas


Good morning all well its soon got around
To Saturday I just dont know
Where the time goes lately
And its nearly Christmas.

Well today's card is one of my Christmas
Cards I've made all my orders so I can now 
Get on with my own.

For this card I used a 8"-8" square card
And some silver mirri board.

The frame is a new spellbinders die.
The corners and the poinsettia are also 
Spellbinders.
And the raindeer is a tattered lace die.

I tied a large bow which I glued to
The bottom corner.
And I then glued my poinsettia onto
The bow.

Thank you for stopping by
It would be lovely if
You would leave me your
Thoughts on this card.

Many thanks

Debs xxx

Thursday, 20 November 2014

Stepping into spring


Good morning all my fellow bloggers
And followers and passer bye.
I'm sorry I've not been here for a couple of days
But I've not had another hours in the day.

This card was made by using the 
Step into spring CD from ruby red
You can obtain it from
And the artwork is by the wonderfully talented
Linnie Pink of Whoopsidaisy.
I also used one of spellbinders new dies 
Which also came from 
Ruby red crafts.

Thank you for stopping by I would be lovely if
You could leave me your thoughts on
This card.
And if you have a active blog I would love to visit it.

Many thanks

Debs xx


Monday, 17 November 2014

whoopsidaisy Challenge ATC


Good morning all its soon got around to monday's Challenge for whoopsidaisy.
Today its the theme is a ATC.

This was a challenge to me as I like to do 8"-8" cards
And this is 31/2" - 21/2"

So I started off by printing my image off from the
Celebrate with ruby red CD which you can by from

I then cut it out with a spellbinders labels 18
Next I cut a piece of white card measuring
3 1/2" - 2 1/2"
Next I cut a piece of teal card measuring 
3 1/4" - 2 1/4"
On which I added on to the white card.
Next I cut a piece of pink mirri card measuring
3" - 2"
I added this too on to my ATC.
I then cut a piece of pink patterned paper measuring 
2 3/4" - 1 3/4"
Before adding this to my ATC I wrapped a piece of
Of teal ribbon around it.
I rounded all the corners it just finishes it off.

I then added my image on to the top 
And to finish off I tied a tiny bow
Out of teal ribbon. 
And I added some diamante's to the corners.

This was certainly a challenge.
Thank you for stopping by

Many thanks

Debs xxx

Saturday, 15 November 2014

A Stitch in Time


k


Good morning all thank you for stopping by this morning.
Its just a quick one today as I've got a busy day a head.
I'm making my Christmas cakes.

So back to today's card it is made by using a hunky dory 
Kit I just liked the sentiment its something
We don't seem to say much these days.

I started with a card base just a little larger
Than a C5 
I cut a mat out on card that was in the kit.
Next I matted my topper on to
Pink card the whit and then pink again.

I added my topper in the top half of my card
I then put my sentiment into the top corner
On foam tape.
Next I added some flowers to the other corner.

To finish with I tied a large bow out of sheer
Organza ribbon.
I added this just below the topper.

Thats all for today and thank you for stopping by
It would be lovely if you could leave me your
Thoughts on this card and if you have a blog
I would love to visit it.

Many thanks

Debs xxx


Friday, 14 November 2014

Oh Christmas Tree Oh Christmas Tree.


Good morning followers and visitors and my new followers welcome to my blog.
I hope that my cards gives you some inspiration.
Well its soon got around to Friday. And what a day ahead I've got  first I'm off to get my nails done then I've got to go to town and then to asda for food shopping.
Then Saturday I've got to bake my Christmas cakes.
Cos I'm off to the Ross craft show in  Sheffield
On Sunday so its one busy weekend.

Back to today's card I used Sue Wilson's dies for this one.

First I started with my base card its just a little larger than a A5 base card.
I then cut two white mats that I layered up but on the top one I embossed the the star rays.
Then i glittered the rays with silver glitter that I got
From Kathy Mills I love this glitter cos it as all different sparkles in it.

Next before sticking the mat down I wrapped a piece of green ribbon around the bottom.

I then cut the tree out of green mirri board. I then added it to my card. Then I cut two corners for the top corners.

To finish with I tied a large green double bow. With my hot glue gun I glued it onto the top of my ribbon.
Then I added a piece of ribbon gems around the knot of my bow.

Thank you for stopping by and I hope that I have given you some inspiration.
It would be lovely if you could leave me your thoughts on this card.

Many thanks

Debs xxx

Thursday, 13 November 2014

Christmas Angel


Good Morning all fellow bloggers and passer bye.
I would just like to welcome my new followers.
I hope I can give you some inspiration.

Well I've got a busy day ahead so I thought I'd get my blog done early.

So today's card is made by using Spellbinders dies.
I started with a 8"-8" white card
I then cut a piece of card at 73/4"-73/4" white card
I then cut a apature in the centre.
I then mounted it to my card with double sided foam tape.

Next I cut the sue wilsons angel die out of gold 
Mirri card.
I then added it into the centre of my apature.

With gold mirri card I cut 2 of the Sue Wilson 
Poinsettia flowers.
I made the flowers up and added them to
Opposite corners of my card.

Next I tied a double bow out of white
Sheer ribbon I then added it to the
Top corner.
To finish with I added a gold snowflake on to
The top of my bow.

Thank you for taking time out to visit my blog.
I would be so greatful if you could leave me your thought
On this card.


Many thanks
Debs xx


Tuesday, 11 November 2014

Mrs Christmas


Good morning all and welcome to my new bees
And friends. 
Well I'm sat here and it is still dark here I feel that I've not been to bed mind you I've only had 3hours.
I've been sat here glittering my images for today's Christmas cards I've got to make.

Today's card is made by using a CD from Ruby Red Crafts.
You can buy it from
And its called
Daisy Does Divas. You can also get flower die there too it is a Couture Ornemental die 

I started with a white base card that I covered with a mat of silver mirri card.
Then I cut another mat out of white card.
I then embossed this with a Teresa Collins embossing folder called Twill Herringbone.

I prineted off my image from the CD and I cut it out with
Spellbinders A2 Define Eloquence card creator die.
I then glittered all the fur on my image with
Kathy Mills's glitter that Kathy mixes her self.
You can always get in touch with Kathy on Facebook if you need this glitter. I must say that this is the best glitter I've ever bought and I've bought lots of glitter in the past but none as good as this.

Next I wrapped a piece of red ribbon around the centre of my card.
I then added my topper on the my card just to the right with double sided foam tape.

Next I tied a large double bow out if red satin ribbon.
With my hot glue gun I glued it to the side of my image.
To finish the bow off I added a strip of Diamante's
Around the knot of the bow.

Next I cut a double snow flake out of mirri board
And added it to the top corner of my card front.

That's all for today
And thank you for stopping by I do appreciate it.
It would be lovely if you could leave me your thought
On this card.

Many Thanks to you all

Debs xxx

Monday, 10 November 2014

whoopsidaisy challenge lots of layers


Good morning all friends followers and passer bye
Thank you for taking time out to stop by.

Today's card is for the whoopsidaisy challenge 
Lots of layers.
I started off by printing my image off from the tots teens and in between CD.
I cut it out with the smallest die from the grand labeled one.
Next I cut my layers out of red and white card.
I staked them up and I added my topper on to the top of them i then added them on to a 8"-8" red card just to one side.

Next a tied a very large bow out of red,white and blue ribbon then I added it to the side of my topper.

To finish with I added some diamante hearts to the bottom
Of my image.

Thank you for stopping by.
Many thanks Debs xx


Friday, 7 November 2014

Its A Girl


Good Morning friends bloggers and passer bye.
Well I don't know what its like where you are but
Its freezing here and dark.
What are you all up to today?
I've got a busy morning I've to go to town the adds for food shopping and after that I'm of to dads for a hour and a coffee. Then I'm hoping. I can get into my craft room for a couple of hours.

Now back to todays card I started with a round scalloped
Card I cut my mats with the grand circle dies from spellbinders

Next I printed of my image from a whoopsidaisy
CD tots teens and in betweens and then I cut it out with the smallest die in the set.
I added this on to the centre of my card.
I then tied a large pink bow and I added it to the side of my card.
To finish off I added some paper flowers and I added some glitter on to my topper.

Thank you for taking. Time out to stop by I
Would be very great full if you would leave me your thoughts on this card.

Many thanks

Debs xx

Thursday, 6 November 2014

On Your Wedding Day


Good morning all welcome to my new followers and also the my blog friends.
I don't know about you but I can't believe its only seven
Weeks till Christmas. But today I'm feeling rather old
As my Son is 21 today.

What are you all up to today as ive got s really
Busy day.
I've got s appointment at the doctors this morning and then I've to take some rubbish to the tip. And then to finish my day I've got to do z pile of ironing.  And then I hope to get some cards made as my niece will be 21 on Christmas day.

So its back to my card for today.
I started with a white  8"-8" square card.
I then covered it with blush colouered card
And on top of that I covered it with slush polka dot card.

Next I cut a strip of card to go down my card i then covered it with blush card.  Next I punched down one side of the strip of card I wrapped a piece of white ribbon
Around the strip of card.
I then added it on to thr left hand side of my card.

Next I printed off my image that was on the step into spring CD from rubyredcrafts.

I then cut I out with the floral ovels from
Spellbinders.
I then added it to the centre of my card.
I then cut one corner for the top right corner of my card.
I then added some gems into the corners.

To finish with I tied a very large bow on which I added
To the bottom corner.
And I then added s diamond ribbon slider on to
My bow.

Thank you for stopping by and if your leave me your comments I will love to visit your blogs.

Many thanks

Debs xxx

Wednesday, 5 November 2014

Its A Boy


Good morning fellow bloggers friends and new followers
Thank you for following my blog I hope you fined sosome inspiration while you are here.

I don't know about you but its freezing here and dark.
What are you all up to today. I'm going to spend a bit of time in my craft room and them I've to go to the Doctors this afternoon.

Well back to the card it is quite a simp!h one to do.
I started by printing off my I'm image from the tops teens and inbetween CD ROM from
Rubyredcrafts.
Next I cut a mat for my image to sit on.

Next got a white 8"-8" card
I then covered it with some pretty blue paper.
Then I cut a strip of white card about 31/2 inch
I cut a piece of blue paper at 31/4 inch
I then punched down one side of it I then glued it on to the white strip of card.
I the added it to the lefthand side of my card.

I then added my topper in to the centre of my card
By using double sided foam tape.
I then printed my sentiment off and I the used
A die to cut it out with.

To finish off with I tied a bow out of blue gingham
Ribbon and with my hot
Glue gun I added it to the bottom clrner .
Next I added a resin bow topper on to my bow.
I added a few blue gems here and there.

I hope you like this card it would be lovely
If you could leave me your cimments and if you have a blog I would love to visit it.

Many thanks

Debs xxx

Tuesday, 4 November 2014

100th Birthday


Good morning friends followers and passer bye.
Well I don't know about you but its cold and dark here it just feels like the winter is here now.

I'm so sorry about the photos I just couldn't get
The colours to look right it is a lovely shade
Of pink and white.

Today's card is a very special one its for a 100th fora very special lady.
I started with av8"-8" white card that I covered with a pale pink and white polka dot card.
Next I cut a strip of white card for down the left side of my card.
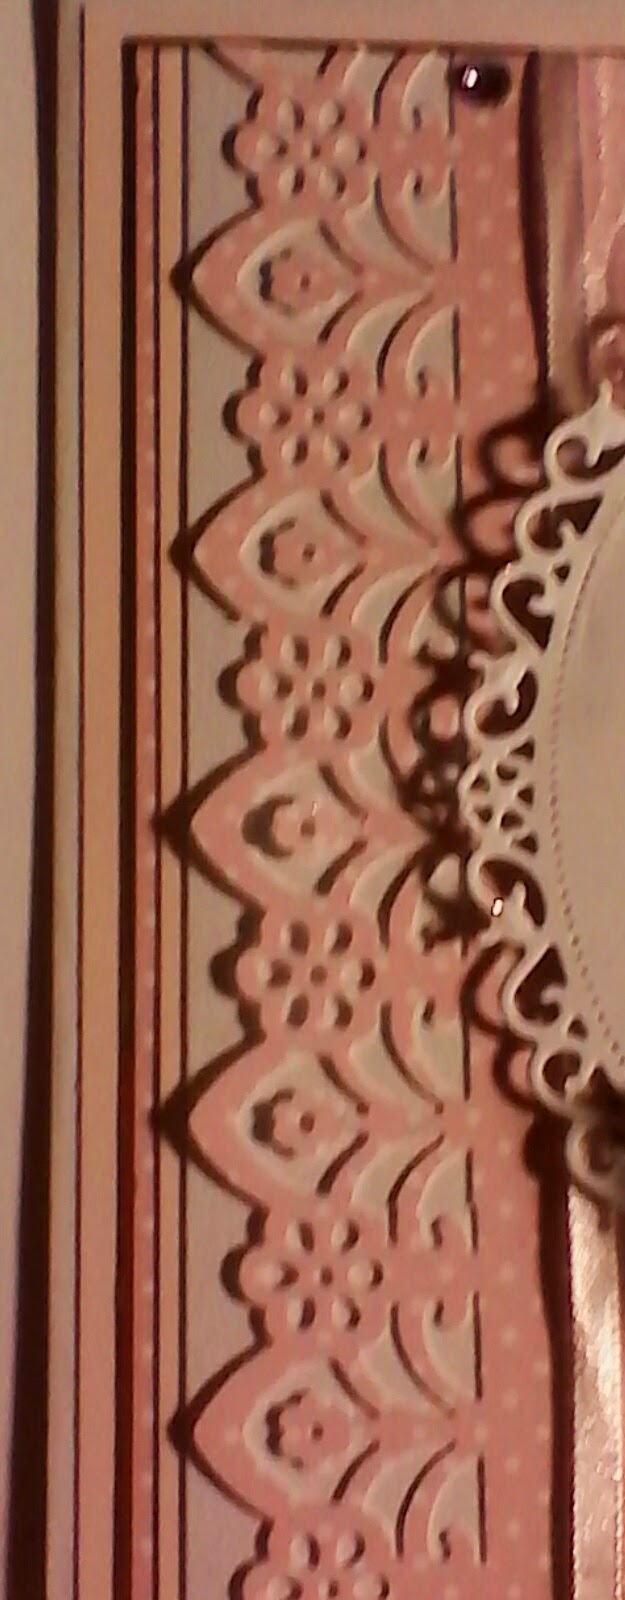
Next I cut a piece of Polks a dot card and I punched down one side. I then added it onto the white card but before I stuck it down I wrapped a piece of white
Lace around it.
I then cut out my topper and decoupaged it up.
I then added it to the centre of my card front.
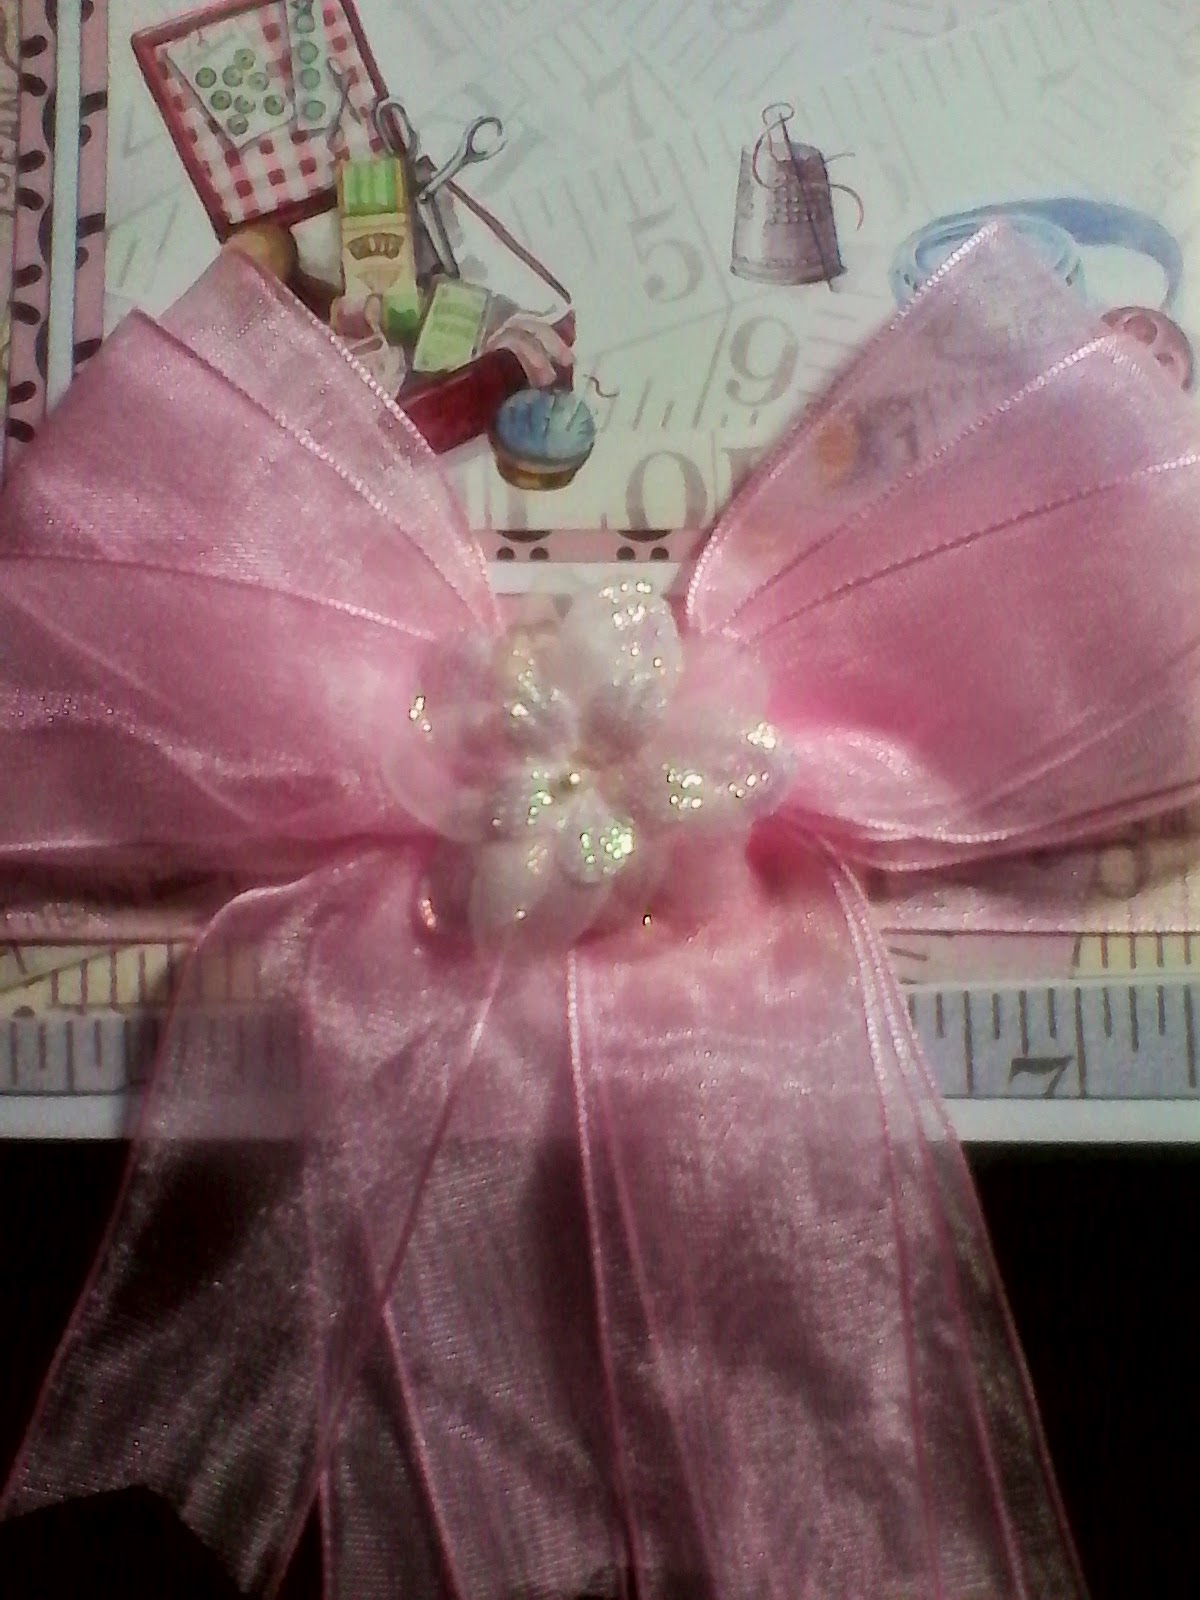
Next I tied a very large bow out of white organza 
Ribbon.
With my hot glue gun I glued it to the bottom corner
Of my csrd . I like to use my hot gum when adding
Bows as it makes them secure.
On top of the bow  I added a diamante
Ribbon slider and on to that I added a small resin rose.
I also added a rose on to two of the corners.
Next I cut my sentiment out and with foam tape
I added it to the top corner.

For this card I made a box for this card as it is a special card.
I made my box up and I then tied a very large bow out of pale pink organza ribbon.
With my glue gun I added it to the top left corner.
With the tails of the ribbon I twisted them and glued
The ends down.
To finish with I die cut a sentiment out
And glued it to the centre of the box lid.

Thank you for stopping by it would be lovely
If you could leave me your thoughts on this card.
I would love to visit your blog if you have one.

Take care and many thanks

Debs xx


Monday, 3 November 2014

whoopsidaisy, s challenge card add a sentiment


Good morning all hope you are all well on the Monday morning and if not big crafty hugs to you.

Today's card is made for the whoopsidaisy challenge
And its called add a sentiment.

The finish size if this card 6"-10"
I started with a white card on that is a silver mirri mat
And the I cut a smaller mat out off blush card
On which I cut a decorative strip
By using a Sue WilsonWilson striplette
You can get the die from
I then added this to my card.

Next I took a topper from the Hunkydory little book of poems. And I mounted it on to my card.
You can get the little book of poems from

Next I cut my bow and ribbon from a Sue Wilson Bow set.
Which also came from iconuk.

Next I cut my two images from the new Debt Red Crafts
Called stepping into spring. You can buy it from

I cut them out and added one at each side of my topper.
To finish off I added a few gems to the corners.

Thank you for stopping by I would love it if you could leave me your thoughts on this one and I would love to visit your blog if you have one.

Many thanks

Debs xx

Saturday, 1 November 2014

A cute wedding card.


Good morning all fellow bloggers friends and passer bus.
I welcome you all.
What are you all doing today.
I'm off to town first thing then and then Rosie as to go to the puddle parlour for coat cutting.
Then its time for the weekly shop at adds so it will be a lot of shoving and pushing. Then I hope I can make a few more christmas cards.

Bck to today's card its a cute wedding card. I started
With a 8"-8" quare card.
And on to that I cut the three of the largest dies in the grand circles die set in shades of blue
I added them to my card. I think that the circles look good on a square card.

Next I printed off my image that came from the
Stepping in to spring CD from ruby red crafts.

I then cut it out with the smallest die from the spellbinders grand circles die set.
I then added it on to the front of my card.

I then cut four corners out of pale blue polkadot
Card with the marianne dies.

The I tied a very large bow out of white
Organza ribbon I then added it to the side of
My card. I then added a gold embellishment on to the bow.
And to finish with I added some gems to the corners.

Thank you all for stopping by and saying hello.
It would be lovely if you could leave me
Your thoughts on this card.
Take Care

Debs xxx